If you find this website useful, please check out my books or visit my Amazon Author page. Or even Buy Me a Coffee!
Model Engineering
Model Engineering
Ever since I was a boy, I was in awe of the working mechanical models to be seen in the pages of Model Engineer magazine or on television programmes like Bob Symes' Model World. In 1999 I managed to acquire both a daughter and a lathe, and against all the odds started my journey in model engineering.
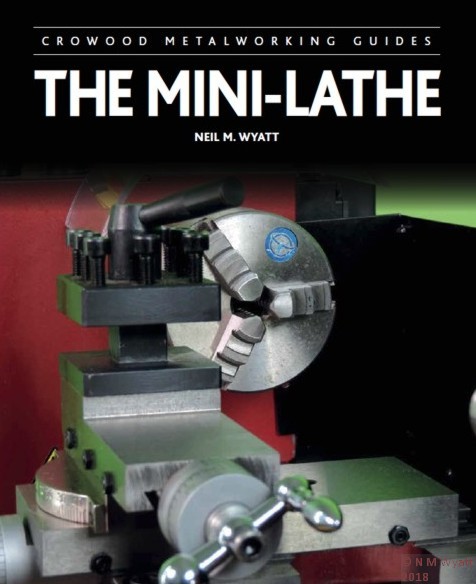
You can buy my books including the Mini-Lathe, Norden: Building a Victoirian Steam Engine and The Home Workshop Dictionary using the links below:
Hardback and Paperback Books
Ebooks and Kindle
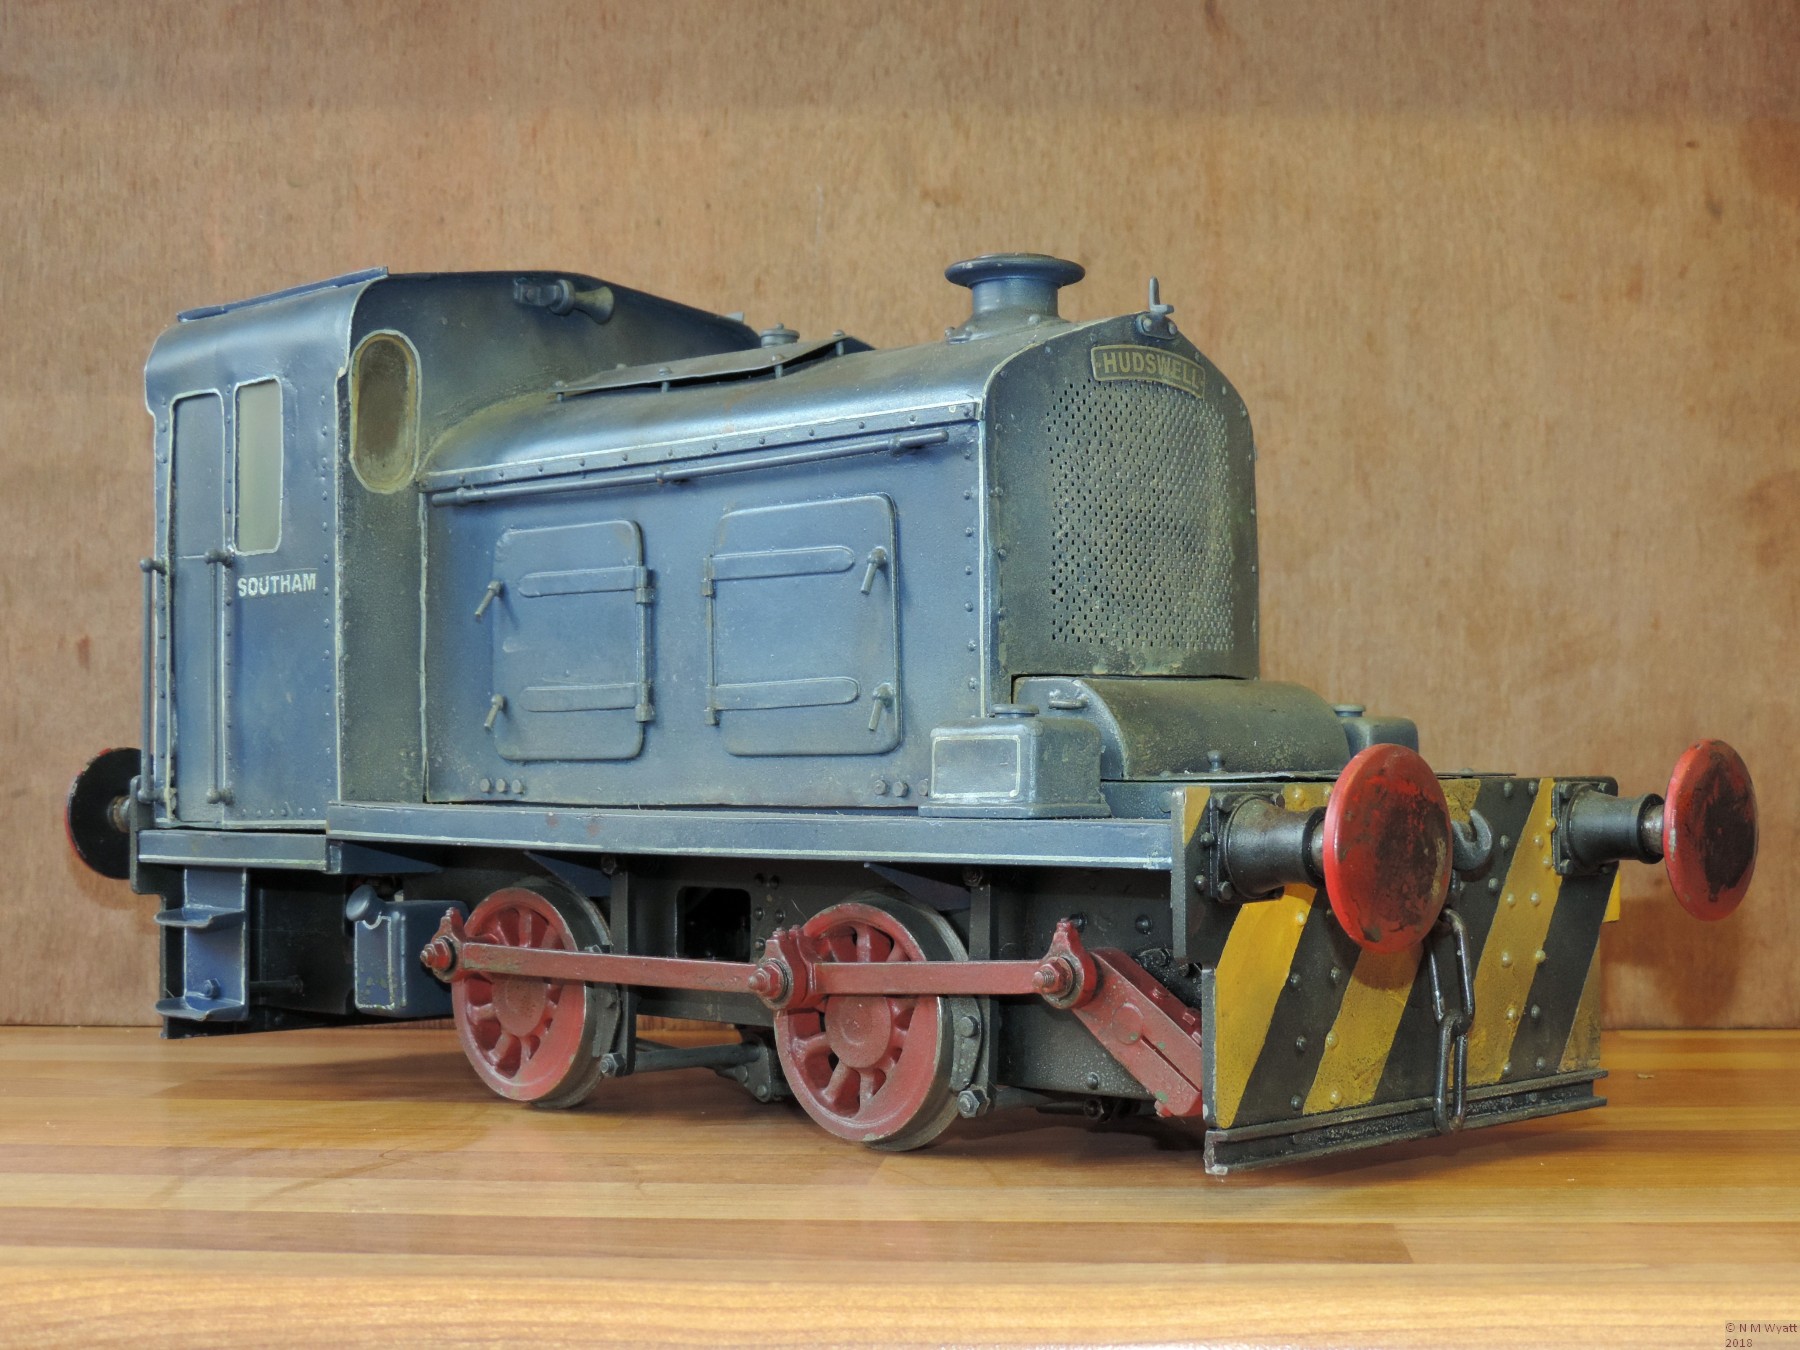
Southam is my 3 1/2" gauge model of a Hudswell Clarke shunter, D604, which operated for many years at a cement works in Warwickshire.
Many model engineers dream of travelling along a model railway behind a locomotive of their own making. Sadly the cost, time and complexity of even a 3 1/2 inch gauge steam locomotive can be enough to deter many beginners. My solution to this was Southam, an inexpensive but characterful diesel outline electric locomotive in 3 ½” gauge that is currently being serialised in Model Engineer.
Most designs for such small diesel models are functional and follow rather boxy prototypes. This model is based on one of Hudswell Clarke’s early designs, these were made to resemble their steam powered products and have plenty of character and detail. Construction took about six months.
I used LBSC’s classic design for a contractor’s locomotive, Tich, as a reference point. If I could match the power and adhesive weight of this live-steam 3 1/2 inch gauge 0-4-0 in my electric 0-4-0, then it should have a comparable performance. In the end I managed to achieve this specification - the all up weight is about 25lbs (12kg) compared to about 20lbs for Tich and, with the motor I used, the power available, 80 watts, is about the same or perhaps rather more – the limiting factor for Southam is the available traction as it will always slip rather than stall. Like Tich, the design is simple and straightforward and can be finished to any level of detail the builder desires in the knowledge that it will comfortably pull a hefty adult (I’m 6 foot two inches and about 14 stone) around most tracks.
I wasn't happy with it's gaudy 'factory' finish, which I decided isn’t ideal for a working shunter that spent its life in a cement works, so I went to work with your dust and rust paints, using an Arism compressor and Sparmax airbrush all from www.airbrushes.com. A bit of research soon showed that the radiator grill at the front is a prime target for cement dust!

Southam won a Highly Commended Certificate at the 2016 Model Engineer Exhibition in this guise.
Southam was serialised in Model Engineer Magazine from mid-2016 to mid-2017.
The issues are: ME: 4539, 4541, 4543, 4545, 4547, 4549, 4551, 4553, 4555, 4557, 4561, 4568.
Southam running on the Nottingham SME track
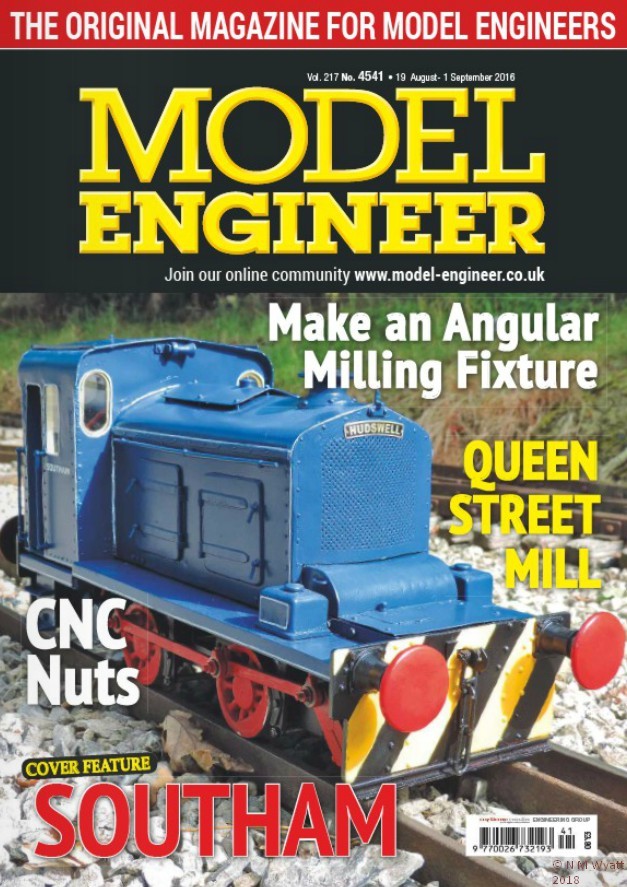
Southam on the cover of Model Engineer Magazine
- Details
- Category: Model Engineering
Many year's ago I shared a flat with a chap who's father had owned the studio where Dougal and the Blue Cat was overdubbed into English. In the movie the blue cat decides on a name, in a broad Yorkshire accent it declares 'My names Buxton'. Apparently, his dad creased at this point and had to be banned from the studio for the duration of that scene!
This has nothing to do with steam engines, except that after seeing a Buxton and Thornley horizontal engine at Abbey Pumping Station, in Leicester, and making a model loosely inspired by it, 'Buxton' seemed a really apt name. Confusingly, the company come from neither Buxton in Derbyshire, or anywhere in Yorkshire. They were from Burton-upon-Trent in Staffordshire, the beer capital of the world.
This is the original engine:

Buxton and Thornley engine at Abbey Pumping Station
In my bits boxes I had a cast iron cylinder I had made from meehanite bar as an experiment, a 4" flywheel and a few bits left over from building Norden, such as a spare eccentric and strap. I also had a big lump of square aluminium alloy and wanted to mill a challenging shape out of it. I ended up turning most of the ally into swarf, and came up with a nice 'cast' base and an engine with a family resemblance to the Buxton and Thornley one.
After Norden I wanted something a bit more simple, so it's all fairly basic construction. I must improve the base by covering it with brick slips. Painted bricks just don't work, at least not with my skill level.

Buxton horizontal steam engine
It's no prizewinner, and not really worth writing up as I don't think anyone else would wish to go through the process of hacking that bed from the solid. A scale version of the original would be nice, perhaps a bit bigger.

Flywheel of Buxton horizontal steam engine
Somewhere I have some pictures of this engine's little brother at Clay Mills - if I find them I will add them to this page. The Clay Mills engines are great, the beam engines are huge and all the small ones are covered in a profusion of ingenious lubricators!
- Details
- Category: Model Engineering
Here's something I have modelled, but I’m fairly sure is not to be found elsewhere on the net: a Ransome, Sims and Jefferies “Automaton” roller. “What!” I hear you cry; “steam rollers aren’t that unusual!”. Well the Automaton was smaller than the Ransome concerns other rollers, but although it had a good water capacity, it never made steam – it’s a lawn roller, meant for the tending of cricket pitches and the like. The Automaton Mower may be more familiar to older folks. Automaton was their first really successful mower, first produced around 1880. It appears the ‘Automaton Roller’ was an attempt to exploit the market and reputation established by the mowers, much as the name ‘Mini’ now graces people carriers!
The Autmaton is not just a cast iron cylinder with a handle, it’s a very distinguished cast iron cylinder with a posh handle. What makes the roller interesting to model is the name-plate, more complex than the ‘ring logo’ adorning Ransome’s traction engines and steamrollers. The same outer ring is used as on their traction engine smokebox doors, but the word ‘Automaton’ is proudly added across the centre, with ‘water ballast’ above and below.

Model Ransome Sims and Jefferies Automaton Roller
I don’t propose to give full constructional details, or to give fully dimensioned drawings, but just give enough information to whet the appetite of prospective modellers. However, as I have made a model of the automaton roller, I will throw in a few of the lessons I learned along the way.
First lesson, get more and better photographs! I found an Automaton by the pavilion of the former Cape Hill Brewery playing field. It was a cloudy day and I was in a hurry so I got two pictures on my phone, a reasonable one of the makers plate and a useless one from the side.

Ransome Sims and Jefferies Automaton Roller Nameplate
A google search finds one more picture on the web, of a similar roller. My drawings of the roller are not dimensioned, as they have been scaled from photographs. The roller is about 18” diameter and 2’ wide, the overall height is about 5’. No excuses for imperial dimensions, I prefer to follow those used for the prototype.

The ‘Automaton’ I saw was a water ballast version, and presumably the round covers allow the water ballast to be added via a hollow axle. The non-water ballast version has prominent nuts at the ends of the axle instead of the round covers. A cosmetic difference is that the areas with the words ‘water’ and ‘ballast’ are replaced by cutouts on the plane version. Finally, a very subtle change is that the cutouts for the nuts holding the plate in position are larger, presumably to make fitting them less of a challenge!
The trickiest part of any model is making the distinctive maker’s plate (photo 3). The only practical approach will be to photo-etch this in brass or copper. I think the pattern is too fine for the ‘toner transfer’ techniques to be used. Etching can be done at home if you have the equipment (I use my PCB etching equipment), or you could approach someone who specialises in making nameplates for model engineers.

I think my drawing of the nameplate is pretty accurate; the font I used was ‘Franklin Gothic Medium Condensed’, however, I had to modify a few characters, most noticeably the ampersand and the ‘J’. I also had to add a border to ‘bulk up’ the characters and arrange them individually over an image of the plate. Hopefully the nameplates (figures 2 and 3) will be useable, and can be reduced or enlarged for any scale model.
Once you have an etched plate, your troubles aren’t going to be completely over. At 1:12 scale it will be more or less impossible to screw it to the frame, I resorted to silver solder. At larger scales it should be easy enough.

Etched Ransome Sims and Jefferies Automaton Roller Nameplate
The roller itself is in two parts. I don’t suggest making these hollow and filling them with water. I think the water goes in through round covers at each end of the axle. Care is needed when turning the raised concentric rings at each end. The two parts should be able to rotate separately on a fixed axle. My axles is shouldered slightly wider than the rollers, with spacers between the shoulders and the frame. The ends of the axle are threaded for 8BA nuts, hidden under the end covers. The non-water ballast version can have 6 or 7BA nuts out in the open.
The frame can be bent up and silver soldered from strip, I cut 1/8” wide strips from 1/32” steel with snips. They took a deal of straightening and cleaning up. Tiny copper rivets could be used to hold it together, but I used silver solder. The frame end pieces need to be recessed for the frame, and also counterbored for the fixing nuts (in the water ballast version). I milled them roughly to shape and then used filing buttons and hand filed them to shape.

Another view of the model
The roller I found had lost its handle, and the picture on line is cut off just below the handle as well. For simplicity I have assumed a plain wooden handle, but if anyone knows different, please let me know.
Update! An older version with an even more florid plate and a very ornate handle (the bent strip of my model is accurate) is HERE.
- Details
- Category: Model Engineering
Norden is a model of a Victorian vertical stationary steam engine that was one of several left for scrap in the 1940s. It is based on a brief note in Model Engineer magazine. I worked out all the missing details and made my own castings.
Nordern in Action

Norden as originally completed.
Although I had many of the dimensions, I had to work out lots of tiny details. I tried to follow traditional construction, such as using proper straps and cotters for the connecting rod bearings.

Some details of the crankshaft of Nordern
The build was written up for Model Engineer, including fully detailed drawings and a great detail of how I 'filled the gaps' and appeared in even numbered issues of ME from 4454 to 4472.

I suppose this makes me a model engineer...
Some time after completing the model, I discovered the engines of John Chadwick, including one preserved by the Northern Mill Engine Society. I am quite pleased that my model isn't too far removed from these 'real' engine and the original of Norden was surely a John Chadwick engine?

A Victorian advert for Chadwick Engines
If you want to build a model of Norden, the castings are available from Blackgates Engineering (my patterns, but I have no financial connection). The castings could also be used to model various other styles of engine - I plan to make a four-column vertical engine with my spare set.

A full set of Norden castings
I was never very happy with my 'rough and ready' concrete base - but I discovered a source of suitable scale 'sandstone flags' and just a small packet of these enabled me to transform the setting of the engine. That's where the story of Nordern ends for now.

Norden on its flagstone base
DOWNLOAD FREE A4 PLANS BOOKLET FOR NORDEN HERE
- Details
- Category: Model Engineering
Page 3 of 3
- You are here:
-
Home

- Model Engineering